How to Fix High CPU Usage by Audiodg.exe on Windows 7, 8, 10, 11?
Many of us, when we start experiencing issues with our PC, open Task Manager and, so to speak, “look under the hood”. Suddenly an unknown process Audiodg.exe catches our eye and for some inexplicable reason causes processor overload, sometimes to the max 100%.
Today’s article is about what Audiodg process is, why it can consume a lot of system resources and what you can do about it.
Contents
Audiodg.exe – What Is That?
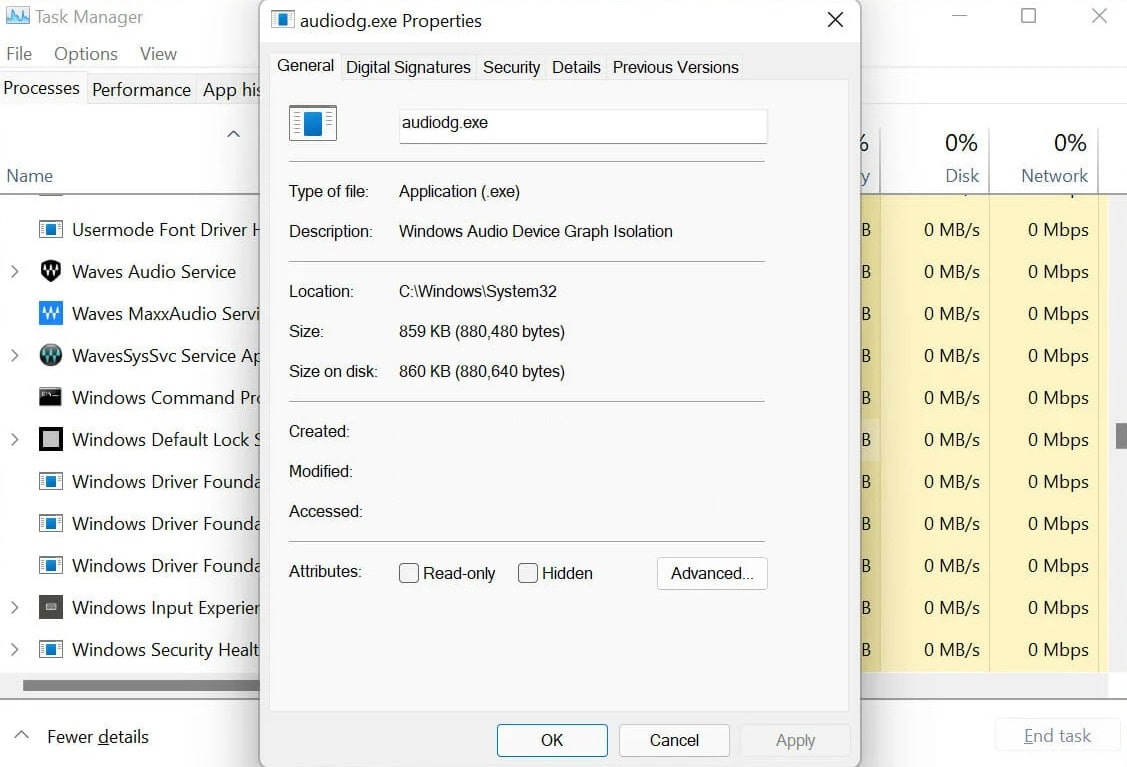
Audiodg is a Windows system service, more specifically it is a service for “isolating Windows audio device graphs”. Audiodg isolates Windows system sounds from system sounds of third-party software, so that the latter are not muted by the OS itself and are clearly audible to the user.
In theory, Audiodg could be a virus that got into the system from the outside, but it is quite easy to check. In Task Manager, right-click on the service you are concerned about and select “Open file location”. The legitimate Audiodg.exe will be located in the System32 folder. If you have found this executable file somewhere else on your computer, scan it immediately with any available anti-virus, for example, using Microsoft Defender.
Is it possible to disable Audiodig?
No, you should not do that in any case. The fact is you are almost guaranteed to start experiencing audio problems on your PC if you decide to take this step. Audiodg is one of the essential services of Windows; it is a cog in a huge machine without which it will stop functioning.
Audiodg.exe High CPU Usage – What Should I Do?
Audiodg.exe consumes minimal system resources. However, the process can load the CPU almost to its maximum, which, of course, negatively affects the entire system. Usually it is caused by additional signal processing tools (effects, equalizers, etc.) and audio drivers, which do not work quite correctly.
Note: The following instruction is written for Windows 11, but it will be useful for Windows 10 users as well. There are some differences between these systems, no doubt, but many of the options and sections are literally identical.
Disable additional audio processing tools
- Press WIN+R to display the “Run” dialog box;
- type mmsys.cpl in the blank line and press ENTER;
- go to the “Playback” tab and double-click on your primary audio device;
- in the “Properties” window, click the “Advanced” tab;
- uncheck the “Enable Advanced Audio” option;
- disable tone compensation, equalizer and other additional means of audio signal processing of output devices, if they are present (everything depends on the version of Windows and installed drivers);
- if necessary, repeat the above steps for other audio devices;
- save the changes by pressing “Apply” and “OK”.
Reduce Sample Rate and Disable Volume Reduction
If the Audiodg process is still stressing the CPU, you can make some more adjustments to the sound settings, which may be able to fix the issue.
- Open “Sound” window, as it was shown above;
- switch to the “Communications” tab;
- select “No action required” for the “When using a computer to talk” option;
- save your changes with the “Apply” and “OK” buttons.
So, how is your CPU doing? No changes? Ok, let’s move on.
- Open the properties of the sound device you need (↑) and go to the “Advanced” tab;
- in the dropdown menu of the “Default Format” section select a frequency lower than the one you have at the moment;
- save the changes you made and restart your PC.
For example, many users prefer to set their PC to the highest possible sample rate, mistakenly believing that this will improve the overall sound quality. However, this is a common misconception: the difference will probably be noticeable only on expensive/professional equipment, which many do not possess.
Switch from a Microsoft driver to a manufacturer’s driver
It is safe to say that the majority of Windows users, regardless of version or edition, use a compatible audio driver that has been automatically installed by the system itself from Microsoft’s servers. Typically, such drivers work OK, but some users have problems with them.
Also keep in mind that these drivers often don’t unlock the full potential of the sound card. The best solution is to install the audio driver for your sound card from your motherboard/laptop manufacturer’s official web site.
Note: Download and install the latest version of audio driver available, even if it is not technically designed for your version of Windows. The driver will almost 100% work without any issues, plus it will give you extended functionality of your sound card.
After updating the audio driver, be sure to restart your PC. As soon as you log in, open Task Manager and monitor the Audiodg.exe process.