How to bring back the old volume slider from Windows 7 to Windows 10?
Windows 10 does not allow its users to use Aero Windows 7, Windows Media Center or other already so loved by all functions of previous operating systems. However, for some reason, in Windows 10 Registry you can still find a hidden setting that can return the volume slider from Windows 7. We’ll now show you how to restore the old volume slider in Windows 10 .
Returning the old volume control from Windows 7 to Windows 10
As already mentioned above, in the Windows Registry 10, for some strange reason, you can still use the old volume control with one small entry in the Registry. Accordingly, you will have to climb into the Windows Registry Editor and change something there. However, all this is not difficult. Just follow the instructions in the instructions that are listed below and you will succeed. If you are not sure about yourself, then you can create a backup of the Registry, and then recover from it in case of some failure.
Do not know how to back up the Windows Registry? It’s pretty simple:
- Click Windows + R.
- Type regedit and press Enter.
- Before you open the Windows Registry Editor window. Turn your attention to the left, navigation part of the window. Roll the entire Registry to the Computer tab with the left mouse button, clicking on the arrow.
- Then click on the “Computer” tab of the RMB and select the “Export” option.
- Keep a copy of your registry at any convenient place on your computer.
That’s all. If you do mischief in the future, then click on the RMB on the Registry copy and select “Merge” to return to the Windows Registry the view that was saved in the backup.
So, back to our main theme, namely the return of the old volume slider from Windows 7 to Windows 10. To do this, do the following:
- Open the Windows Registry Editor, as it has already been shown the point about saving a backup.
- Then, using the Registry Editor navigation bar, go to the HKEY_LOCAL_MACHINE \ SOFTWARE \ Microsoft \ Windows NT \ CurrentVersion section.
Note: if you use the latest version of the Windows 10 operating system, you do not need to use the navigation bar. You can simply paste the copied address into the address bar and press Enter.
- Click RMB on the CurrentVersion section and select New → Key.
- Name the new partition MTCUVC and press Enter.
- Select the MTCUVC section.
- In the right part of the window, click the RMB on the empty space and select “Create → DWORD (32-bit)”.
- Name this parameter EnableMtcUvc and press Enter.
- Set this parameter to 0, which is the default value.
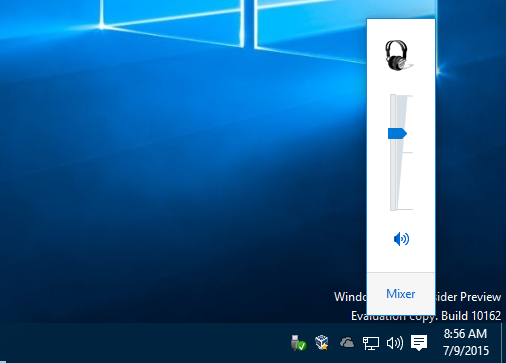
That’s all. Now your new volume control will get the kind that was present in the operating system Windows 7. Click on the volume icon and you’ll see that the slider changed its skin to the old one. You do not even need to reboot your computer to make changes to the system. If you want to return a new kind of volume slider from Windows 10, you will need to go back to the Registry Editor and remove the EnableMtcUvc value that you created earlier.