How to Change Screen Resolution on Windows 11?
Windows 11, the latest Microsoft OS, allows its users to easily modify the screen resolution! The main thing is to know where the corresponding settings are located. In today’s short article, we’ll show you how to change the screen resolution in the latest iteration of the Windows OS, and not just one, but several ways at once.
Contents
Changing Your Screen Resolution on Windows 11 – in Different Ways!
Method #1 Through the system Settings
The most trivial way to change the resolution is through the system Settings. To be more specific, through the display settings. Here’s how it’s done:
- RMB on the Desktop and select Display Settings;
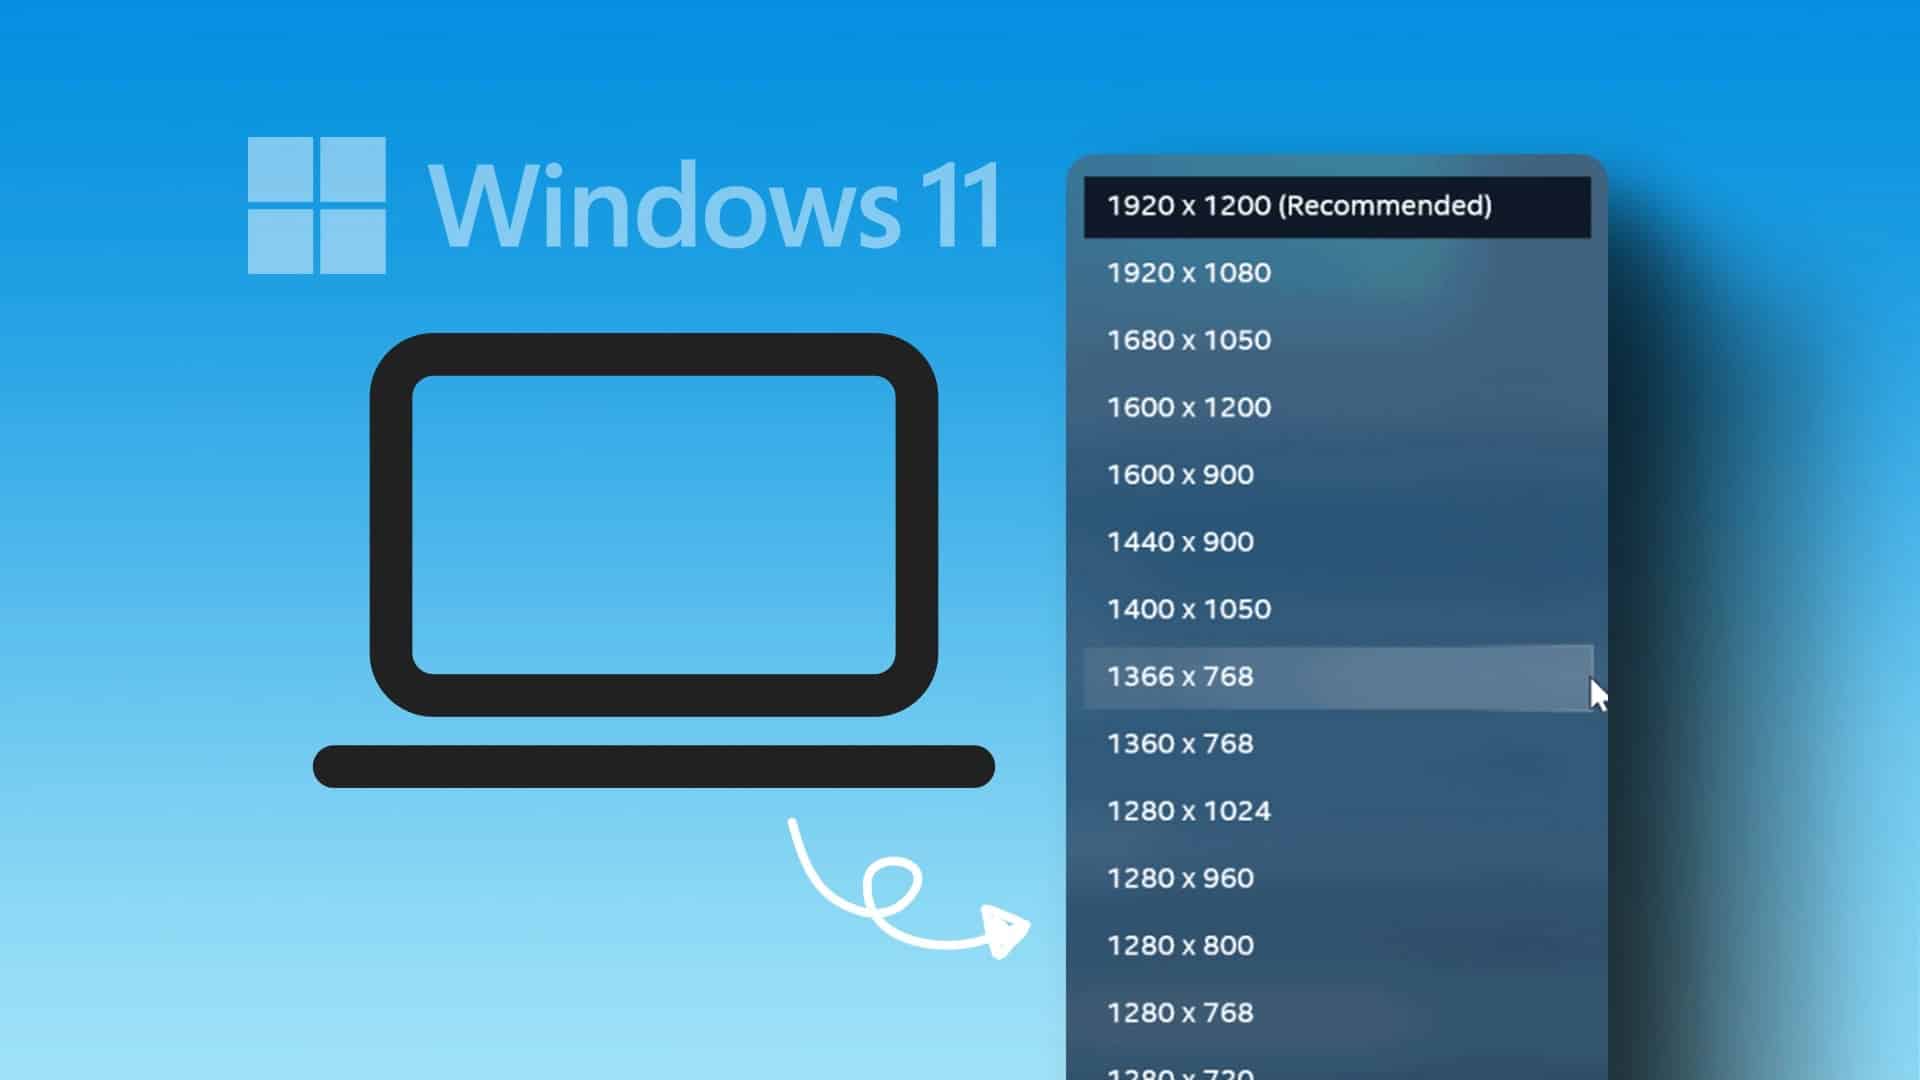
- drop down a little lower and find the Screen Resolution drop-down menu;
- select the resolution settings you want in this menu and click Save in the confirmation box.
Method #2 Through the advanced settings
Basically the same as above, but with additional display settings. Here you will be able to change not only the resolution of your monitor, but also set a suitable refresh rate.
- Follow step 1 of the previous method (or press WIN+I and go to System→Display);
- drop down to the bottom of the window and select Advanced Display Settings;
- now click on the Graphic Adapter Properties hyperlink… (1, 2, 3 – depending on the number of monitors);
- in the new window click on List all modes;
- select the resolution/bit rate/color/frequency in the list;
- click the Save changes button.
Method #3 Through the graphics card control panel
Less popular solution, but some users resort to it, especially if they need to set any custom resolution. In case you didn’t know, each graphics card has its own special control panel – it depends on the manufacturer. Unfortunately the interface of these panels leaves much to be desired, but there’s nothing to be done.
For owners of Nvidia cards
- RMB on the Desktop and choose Show Options→ Nvidia Control Panel;
- in the Control Panel window, expand Display→Change Resolution;
- select the desired resolution/refresh rate, and save your changes.
If you want to create your own resolution, which might not be supported by your monitor, click Customize... and then check the Enable modes not supported by the display checkbox.
For AMD graphics card owners
- RMB on the Desktop and select AMD Software;
- click on the gear icon in the upper right corner;
- click on the Display tab;
- on the right side of the screen, under Custom Resolutions, click Create New+;
- set the necessary parameters for the new resolution and click Create.
Warning. You won’t be able to delete a resolution preset you’ve created if it’s just sitting there by itself. You will have to change the resolution in the system settings (↑) to a different resolution, for example change from 1080p to 720p, delete the preset and only then set the desired resolution. Alternatively, you can create another preset and get rid of the old one. Yes, not exactly a convenient and well thought out system.
For owners of Intel graphics cards
- Press WIN+S and type in Intel;
- select your graphics card control center from the results;
- in Control Center, click the Display tab;
- select the appropriate resolution and refresh rate from the drop-down menus.
As a reference, you can create a custom resolution by clicking the plus (+) sign next to the resolution pull-down menu.
Possible issues when changing the resolution
- The resolution change menu is grayed out, i.e. it is not available for interaction. Most probably the problem lies in the graphics drivers or cables of the monitor itself. Update your graphics card drivers and reconnect/replace cables.
- Unclear, blurry picture. Probably you have selected the resolution which does not correspond to the native resolution of your monitor. To get the best picture, choose the recommended (!) monitor resolution. Even the system itself, as a rule, signs off for the user which resolution is better to choose.
- The native resolution is not listed. Sometimes it happens that we try to select the native resolution of the monitor, but it is simply not in the lists. Adapters, adaptors, converters – all these devices can cause this problem. In this case we can recommend only two things: to change the adapter for another, less problematic one, or to connect monitor to the graphics card by other cable directly.
- Black screen, out of range. Terrible situation: we set the resolution, the screen gets dark, sometimes – the message “out of range” (or analogue) appears. What to do?! Nothing. You don’t have to do anything. Although it is not visible, but at this moment, a dialog box appears with the saving of the selected resolution. If the user does not click “Save Changes” within 15 seconds, the system will return the previously set resolution.
As you can see, there are many different ways to change the resolution in Windows 11. Moreover, there are many third-party programs that can also help with changing the resolution. But they should probably only be used in really special cases.