How to fix «the driver being installed is not validated» error?
Every newly-created owner of a laptop (and any computer in principle) must somehow install a driver for his video adapter, without which it will simply not work. In today’s material, we will consider one small problem that arises when installing the driver for integrated graphics processors from Intel, ie Intel HD Graphics.
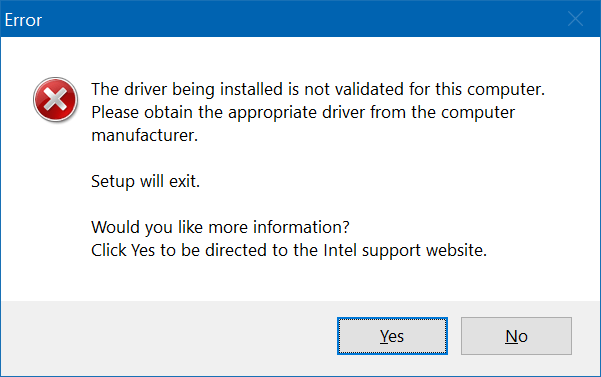
During the installation of the driver set downloaded from the official Intel site, there may be an error “The driver being installed is not valid for this computer”. Of course, after the appearance of this message, the installation of the necessary driver is interrupted, which, in fact, is indicated in the window with an error. There is quite a logical question: why is not a driver suitable for an integrated graphics card installed?
If you are faced with such a problem, then know that the manufacturer of your laptop simply did not approve the driver you install. Install you will get only the driver that the manufacturer insists on, which, frankly, the crane is ridiculous, given the open access to the drivers on the Intel site. Fortunately, the “Installable driver is not valid for this computer” error can be easily bypassed, after which it will not bother you again. Let’s see how to do it.
The driver being installed is not validated: how to fix
So, you can bypass this error by manually installing the driver you need. Many users simply do not use this method, because on rare occasions there are reasons. The “Installable driver is not valid for this computer” error is one of these reasons. Well, after stumbling upon this error, you can already assume that you have downloaded a bundle of drivers to your computer. Nevertheless, I want to note that for manual installation of the driver for Intel HD Graphics you need to download the ZIP-version of the package. So if you previously downloaded the EXE version – go back to the site and try again, but only the archived version.
Now unzip the driver package wherever you like, for example, on the Desktop (not the point). Next, you need to open an element of the system, such as “Device Manager”. On Windows 10, you can do this as follows: right-click Start and select “Device Manager.” If you have a Windows 7 operating system, you will need to do the following: press the Windows + R combination, type in the empty command devmgmt.msc and press Enter.
Opening the Device Manager, you need to do the following:
- Find the “Video adapters” section in it and open it;
- find in the list of available video cards the Intel HD Graphics you need and click on it twice to go to the device properties;
- then go to the “Driver” tab;
- click the “Update driver …” button;
- click the “Search for drivers on this computer” button;
So, next you need to specify in the empty line the directory where you placed the downloaded drivers. However, you need to specify the path to the inside of the folder called “Graphics”. You should leave something like the following:
- C: \ Users \ USERNAME \ Desktop \ win64_15.65.5.4982.zip \ Graphics
Once you have entered the desired directory, click on the “Next” button. If you downloaded the correct driver (and load incorrect – it is extremely problematic) – the system will automatically install the driver for your integrated graphics card from Intel. That’s all you had to do when an error “Installable driver is not valid for this computer”.
Nevertheless, you probably have a ripe question: in the future, you also just have to update the driver for the video card? No, you do not need to install the driver manually any more: you can later use the official installer of Intel.