How to install Windows operating system on Mac?
It makes no sense to argue which OS is better – Windows or macOS. It is better to try both yourself and decide on the basis of their personal experience. Fortunately, installing Windows on a Mac does not require specialization.
From the very beginning, Apple computers were positioned as an alternative, new way, regarding equipment from other manufacturers. The company even installed its own production processors in a PC and in every way demonstrated the exclusivity of such products. However, in 2006, the Booth Camp utility debuted, which allows Windows to run on top of macOS, and a year earlier, Apple began using Intel processors on its PCs. It is worth noting that the use of virtualization technology (with the help of special programs) made Windows on an Apple computer even earlier.
Contents
What you need (drive, image, etc.)
There are the following requirements:
- Flash drive. It is desirable to have a 16 gigabyte drive. However, if you plan to install Windows 7, you can get by with 4 gigabytes.
- Free disk space. When installing Windows 10 on a Mac, at least 64 free gigabytes is required, and 128 gigabytes is recommended. For 95% of users, this makes justifying the installation only to a hard disk.
- Mac , released no later than 2007. If you plan to install the “top ten”, then you need a computer made no later than 2012.
- The downloaded image of Windows. You can download it from the official site .
- Software for installation . Boot Camp, and in the case of virtualization: Parallels Desktop, VMware Fusion or Oracle VM VirtualBox.
What is Boot Camp?
The Apple utility, which allows you to install Windows. After, when the computer starts, the user selects which system to boot – macOS or Windows. All external equipment will work normally under any OS. She is provided with all available computer resources. The program is free and is included in the MacOS system – just go to the “Utilities” section in the “Programs” section and find the “Boot Camp Assistant” there.
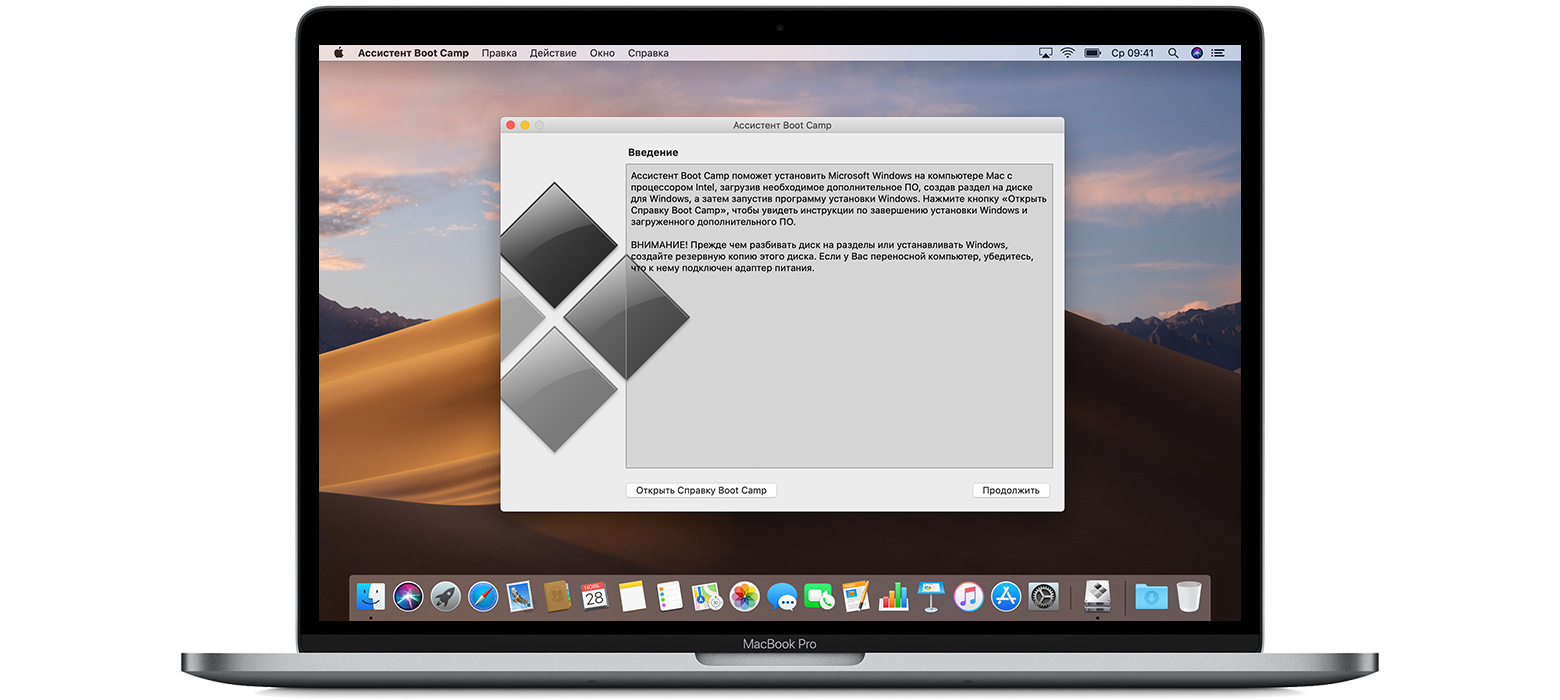
How to install Windows on Mac using Boot Camp?
We must act according to the following algorithm:
- After launching Booth Kemp, tick the checkbox “Create installation disk …” and “Install Windows …” on the initial window, then click on “Continue”.
- A window for selecting the location of the Windows image will appear – enter the correct path. Below is indicated the USB-drive on which the recording will be performed.
- In the next window, specify how much space is allocated on the disk for the new OS. It is necessary to move the slider or activate the option “Split into even …”. After clicking on “Install”.
- The computer will reboot and a window will pop up to select the boot device. You need to click on a flash drive with a copied Windows image. The benefit of Boot Camp lies in the fact that all the necessary drivers for the equipment are immediately copied to the drive – no further configuration is required.
- The installation process starts Windows. The only caveat – when choosing a partition, it is logical to choose the one that is designated as “BOOTCAMP”. However, the installer will protest such a move. Therefore, this section needs to be formatted – the option is located just below the main unit.
- When you first start Windows on your Mac, BootCamp should start automatically. She will automatically install drivers and additional software. It is only necessary to confirm the actions performed. If the utility does not start, open the USB flash drive and run the executable file “setup.exe” in the root folder.
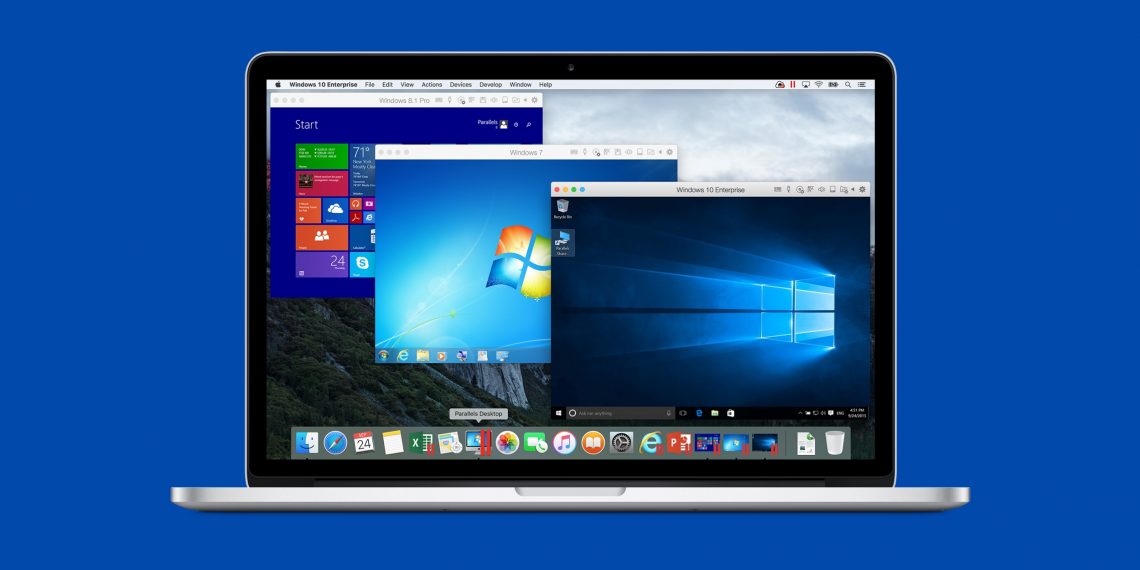
Virtualization
It involves the installation of a special application – a virtual machine. Through it, you can run almost any OS. For example, with its help it is easy to play a mobile game for Android on a computer – a meaningless idea, but the main thing is that there is such an opportunity.
In our case, virtualization is allowed to use Windows as a separate macOS application. That is, a third-party operating system will be launched in the virtual machine window, but it will be possible to work with Apple programs.
Parallels Desktop
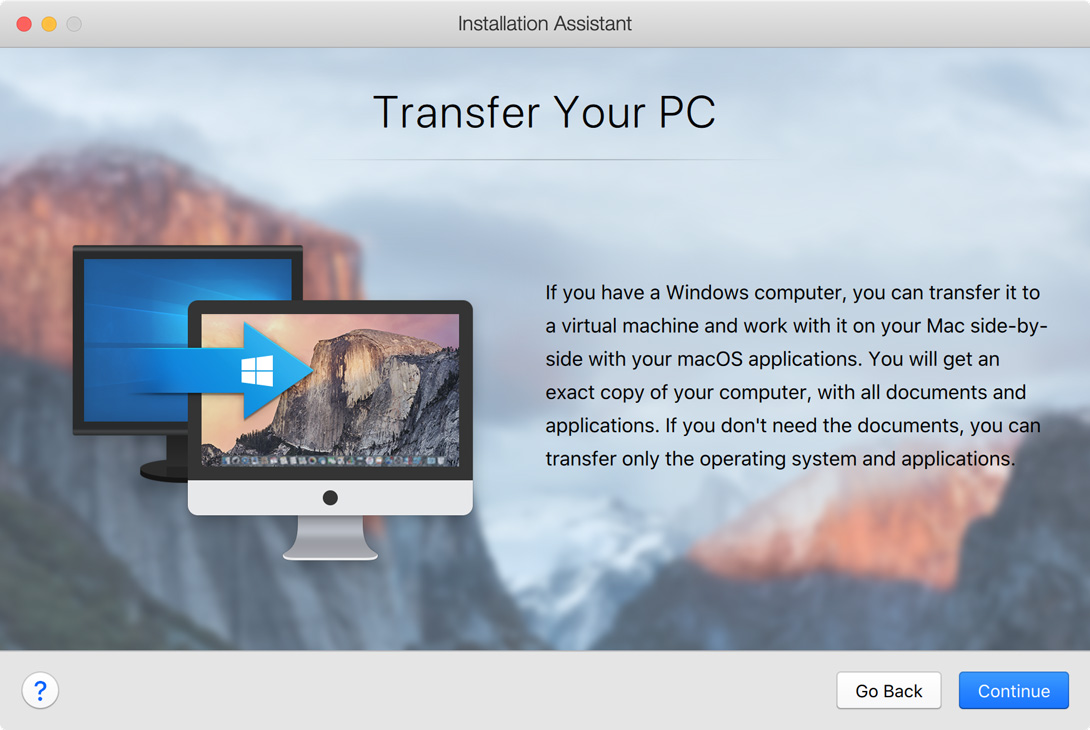
This is a paid application, but there is a trial version for 14 days. After downloading , installing and running, proceed by the following algorithm:
- On the initial window click on “Install Windows …”. The program will start downloading the OS. If this does not happen (for example, crashes on the Internet), then click on the button “Find manually” => “Image” and drag the image of Windows into the current window.
- If you have a Windows license key, you need to enter it in the next window. If it is missing, then you need to uncheck the option “For this version is needed …”.
- Specify the main purpose for which the third-party OS will be used. You can choose between the following templates: “Office programs”, “Games only”, “Design”, “Software development”. These are non-critical installations and can be easily changed in the future.
- Next, give the name of the virtual machine. Opposite the line “Location” indicate where on the disk will be deployed Windows. Finish pre-setting by clicking on “Continue.”
- In the next step, wait until the system is installed. During this, a window may be displayed in which it will be asked which OS version you need to install – for example, 10 Pro or 10 Home.
If necessary, you can change the settings of the Windows virtual machine. To do this, simply click on the gear icon in the “Parallels Desktop Control Center” – there will be many options. For example, you can allocate a virtual machine more RAM.
VMware Fusion
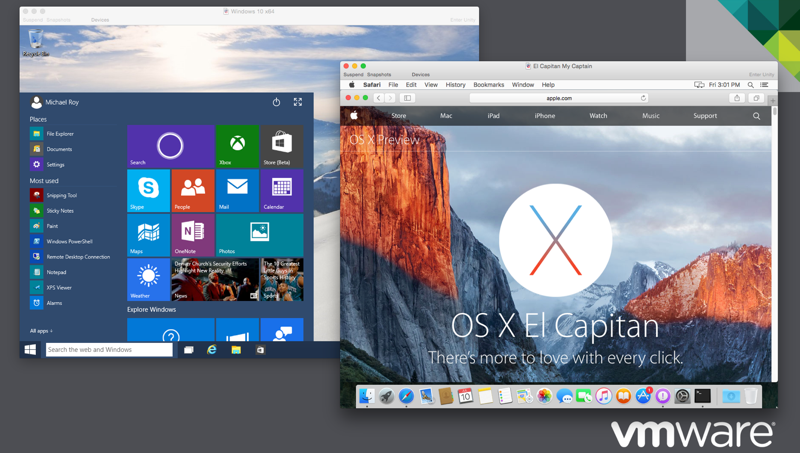
You also need to pay for this program, but the trial version works for 30 days when registering an account. After downloading and installing the application, do the following:
- On the initial screen, select the option “Install from disc or …” => “Continue”.
- In the next window click on “Use another disc or …”, specify the path to the ISO image of Windows => “Continue”.
- Set the parameters of work. To do this, click on “Customize settings” – the program will ask where to store the files with the settings. After that, you can do setting the parameters. Specify how many processor cores are available to the virtual machine and how much permanent RAM to allocate. Finally close the settings window.
- Start the virtual machine – click on the large playback icon. After that, the installation procedure will start Windows. You will need to select a language, specify a section for installation and perform a full list of standard operations.
- The final step is to install the drivers. To do this in macOS, in the top pane, select: “Virtual Machine” => “Install VMware Tools” => “Install”. In the virtual machine window, in Windows Explorer, go to the DVD drive. In it, click on the application “setup64”. Confirm the commands in the installer, and after installation, agree to overload the system. The result is a full-fledged Windows operating as an application in the macOS working environment.
Oracle VM VirtualBox
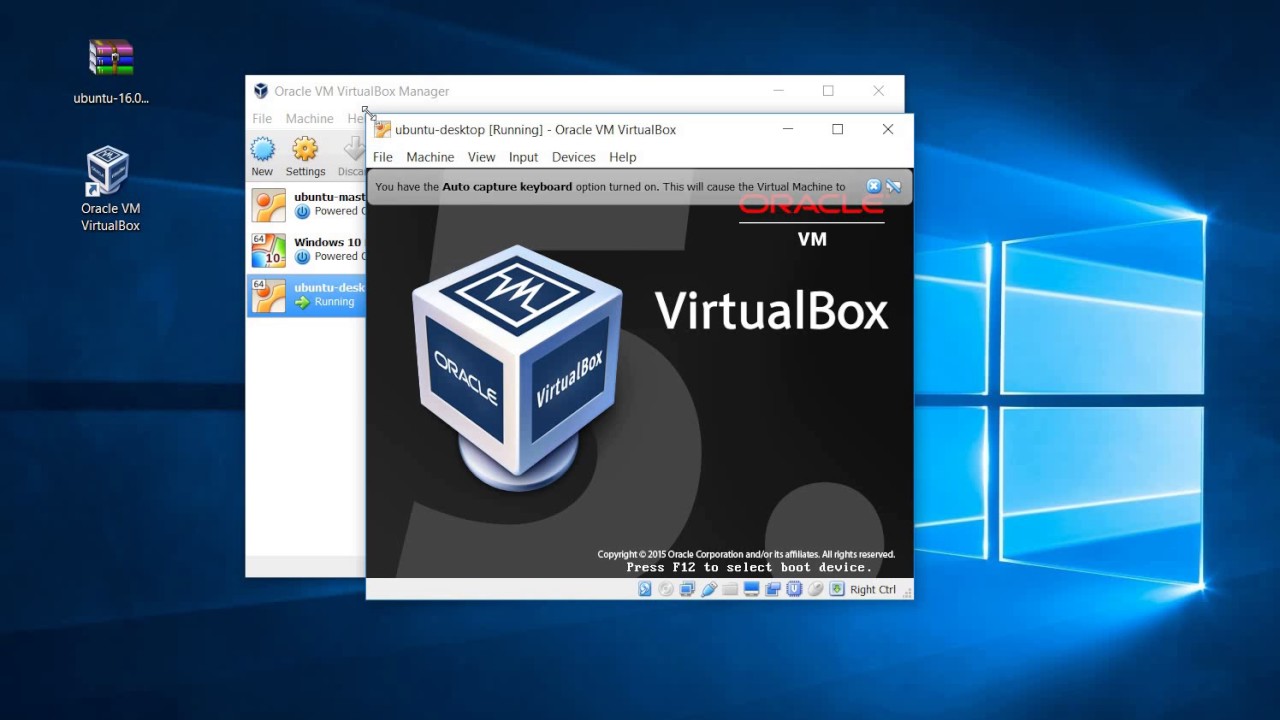
You can install Windows 10 on Mac OS on Virtualbox. The benefit is a free virtual machine. After downloading , installing and running, proceed as follows:
- In the upper left corner of the initial window click on “Create”.
- Designate the virtual machine (remember the invented name) and specify the OS settings. If you have a Windows 8.1 image of 64-bit version, then the corresponding parameters should be specified in this window.
- Set the amount of RAM that will be used for virtualization. The more you specify, the more stable and faster Windows will be, but the response speed of macOS will decrease.
- Specify the parameters of the virtual hard disk. To do this, tick the line “Create a new virtual …” => “Next” => tick the line “VDI …” => tick in front of the “Fixed virtual …” => click on “Next”.
- Configure the virtual OS. To do this, the virtual machine that you created earlier will appear on the start screen in the left pane (for that, you had to memorize its name). Select it, and at the top click on “Properties (Configure)”. Go to the “Media” tab and specify the path to the Wi ISO image in the corresponding line. After saving these settings, return to the initial window and click on “Run”. The OS installation will begin according to the standard scheme.
Installation using Boot Camp and Virtualization
This combination is possible if you have Parallels Desktop and two conditions are met:
- A standard installation of Windows on a computer with the help of ButCamp is required.
- When deploying a virtual machine, select the following option: File => Create => Boot Camp, then follow the commands that appear on the screen.
The key role is played by the correct sequence of operations. First you need to have Windows installed via BootCamp, and only then you need to create a virtual machine.
Advantages and disadvantages of all methods
Regarding Boot Camp, the following features are important:
- Maximum Windows performance. If you need to run a resource-intensive application or game on macOS that works only under Windows, this is the best solution.
- Stability. Booth Kemp is officially supported by Apple – in which case you can count on technical support.
- A noticeable reduction in hard disk space and, much worse, partitions are created that will always be inaccessible to one of the operating systems. Windows does not understand the macOS file system.
- To run Windows will have to restart the computer.
- Apart from the OS image, nothing else needs to be downloaded – time is saved.
Virtualization technologies have the following characteristics:
- Can back install Mac OS on Windows.
- Requires a powerful computer, preferably with a solid-state drive.
- The disk structure does not change. It gets less free gigabytes, but all the files are available in the same places. Booth Kemp will eat more free space under any circumstances.
- Switching between operating systems is possible without overloads. It is enough to open the application, and in which case it is instantly minimized to work in another OS.
- The number of possible OS options is unlimited. You can even install a different version every day – this is useful for software testing. Also on one PC you can run Windows, Linux, Android.
- All advanced virtualization software costs money.
The combination of virtualization and Boot Camp is characterized by the following nuances:
- You can instantly start Windows without overloading.
- If you alternate booting Windows under Boot Camp and in virtualization mode, it is highly likely that you will have to activate Windows every time.
Conclusion
The current situation when a man plays a Windows-based game for a macbook was impossible to imagine 15 years ago. Time flies and fewer barriers to using the most diverse software for any platform. Installing Windows on the Mac, as well as the reverse procedure, does not take much time and allows you to experience all the delights of multiplatform.