How to Fix ‘Ip Address Conflict’ Error?
The ‘Ip Address Conflict’ error can occur when a PC/Laptop is connected to the network (either by cable or over the air). The following message is attached to the error:
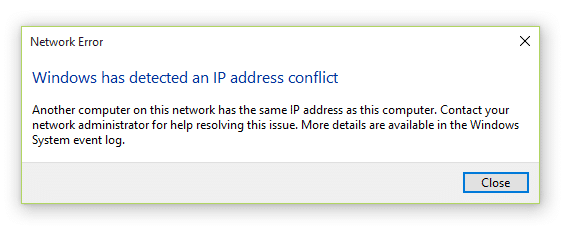
Another computer on this network has the same IP adress as this computer. Contact your network administrator for help resolving this issue. More details are available in the Windows System event log.
From Windows XP to the latest builds of Windows 11, just about every user can run into this issue. Today’s article is about what causes this error and how to get rid of it.
Causes of the ‘Ip Address Conflict’ Error
The error message clearly states the reason: it is an IP address conflict. The user has tried to connect his computer or laptop to an available network but has failed because it contains a device with exactly the same IP address. For the record, you cannot have two devices on the same network with the same IP address – it doesn’t work that way.
IP address conflict is a common issue in offices where a computer network with static addresses is set up. However, ordinary users may encounter it as well, e.g. when setting up a router with many different devices connected to it.
How to Fix IP Conflict Error
If you are at your workplace, contact your administrator and ask him to fix the problem, i.e. to give you another static IP address. If your ISP/workplace network uses DHCP, you can try the following:
- press WIN+R to bring up the “Run” dialog box;
- type ncpa.cpl in the blank line and press ENTER;
- right-click on your network connection and select “Disconnect” (if you have a router, disconnect it for about 5 minutes);
- right-click again on the network connection and select “Enable”;
- call the “Run” window, type CMD in it and press CTRL+SHIFT+ENTER;
- run the commands in the console:
- ipconfig /release
- ipconfig /renew
- check if there is a problem;
- if nothing has changed, open the network connections window again (ncpa.cpl) and go to the properties of your network connection;
- in the “Network” tab, double-click on the “IP version 4 (TCP/IPv4)” component;
- activate the options to obtain IP and DNS addresses automatically;
- save your changes and reboot your PC.
Check for the ‘Ip Address Conflict’ error. If nothing changes now, you can use the additional solutions below.
What Should I Do if I Can’t Resolve an IP Conflict?
There are cases when the above solutions are not enough to resolve the IP conflict. In this case you can try the following:
- Reset the network connection settings. Open the system settings (WIN+I) and go to “Network and Internet”→”Advanced network settings”. Select “Reset network” and click on “Reset now”. Confirm your intentions by clicking “Yes” and wait for the reset to complete. Your PC will automatically reboot, so don’t be alarmed.
- Start the troubleshooter. Open Settings and go to “System”→”Troubleshooting”→”Other Troubleshooters”. Click the “Launch” button under “Internet Connections”. Follow the instructions on the screen to try to troubleshoot potential problems with your network connection.
- Activate a restore point. If you haven’t experienced network connectivity issues before, it makes sense to run an OS restore via a restore point. Press WIN+R and run rstrui.exe. Next, you need to select a suitable point and run it. The recovery process will take some time, plus you PC will reboot – this is normal.
If you still haven’t managed to fix ‘Ip Address Conflict’, please describe your case in detail in the comments. Perhaps we and other website visitors can help you in some way.