What is LockApp.exe and How to Disable It?
When you open the Task Manager, you might have come across the LockApp.exe process. Usually this process consumes a minimal amount of system resources, i.e. it does not affect the computer’s performance in any way. However, many users don’t know this process – they have no idea what it does or if it is worth worrying about at all. Today’s article discusses what LockApp is, whether it can be a threat to your system and how to disable it.
Contents
What’s a LockApp.exe and should you be worried?
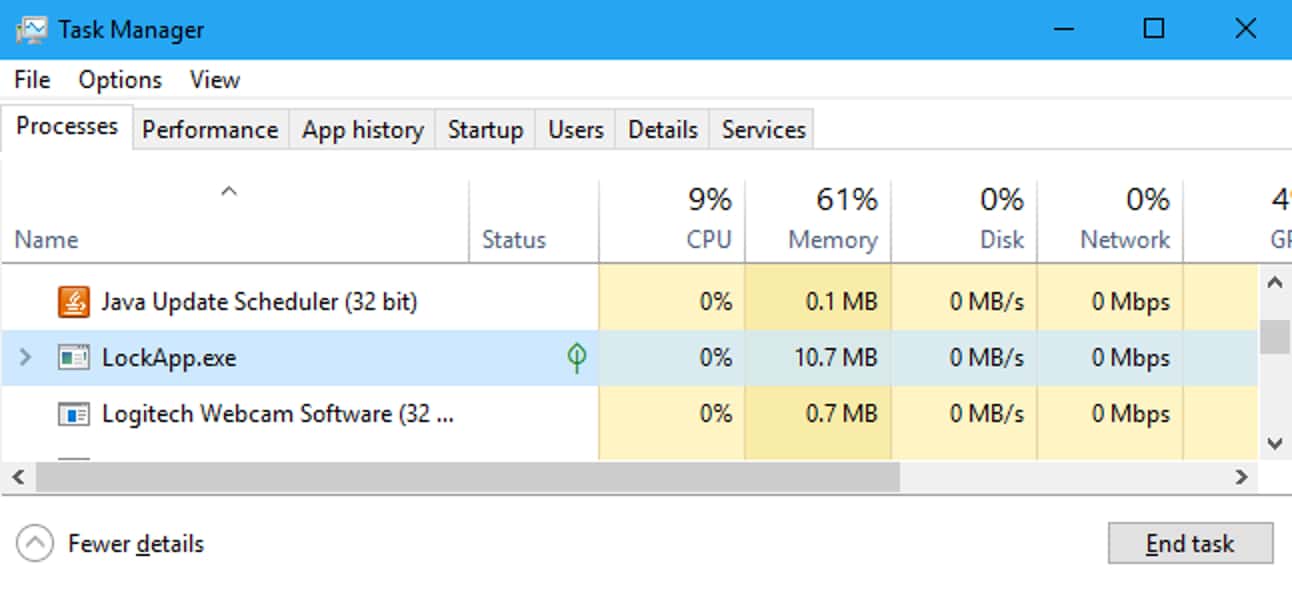
LockApp.exe is the Windows 10/11 OS process that is responsible for the lock screen. Yes, this is where you end up when you initially start your computer or when you log out of your account. The LockApp process will only “eat up” a small fraction of system resources in the above cases. Checking, so to speak, the legitimacy of this process is very easy:
- open Task Manager (RMB+Taskbar);
- go to “Details” tab;
- click on LockApp.exe process and choose “Open file location”.
If you are redirected to the \Windows\SystemApps\Microsoft.LockApp_cw5n1h2txyewy folder, everything is fine. If the location of the executable file is different, it should be urgently scanned with any available antivirus. You may be dealing with a virus and other malware.
Is it possible to disable the LockApp process?
Absolutely. LockApp.exe, like many other system processes, can be disabled. Obviously, the functionality of the lock screen will be lost, so think carefully about whether you want to do that. Below you will find the easiest ways to deactivate the lock screen for both Windows 10 and the latest builds of Windows 11.
How to remove the Windows 10 lock screen
- Press WIN+R to bring up the “Run” dialog box;
- type gpedit.msc in the blank line and press ENTER;
- go to “Computer Configuration”→”Administrative Templates”→”Control Panel”→”Personalization”;
- click on the “Deny Lock Screen Display” policy and select “Change”;
- select the “Enabled” option and save the changes to the policy properties;
- restart your PC.
How to remove Windows 11 lock screen
- Press WIN+R to bring up the “Run” dialog box;
- type regedit in the blank line and press ENTER;
- at the address bar of the editor window go to HKEY_LOCAL_MACHINE\SOFTWARE\Policies\Microsoft\Windows\Personalization;
- RMB click on the empty space on the right side of the window and select “Create”→”DWORD Parameter (32 bit)”;
- give the new parameter the name NoLockScreen and the value of 1 (one);
- close all the windows and reboot the PC.
Note: If you can’t find the “Personalization” section, create it yourself in the specified branch.
Alternative method to deactivate the lock screen (LockApp.exe)
There is another method for deactivating the lock screen and thereby the LockApp process. However, after executing it, Windows may start experiencing issues with its functionality. In addition, the effect of the method will almost certainly be negated after the next system update. All in all, do everything at your own risk.
- Open the Task Manager and terminate the LockApp task;
- using the system Explorer, go to C:\Windows\SystemApps\Microsoft.LockApp_cw5n1h2txyewy;
- rename the Microsoft.LockApp_cw5n1h2txyewy folder to Microsoft.LockApp_cw5n1h2txyewy.old;
- reboot the PC and check if the lock screen has been deactivated.
If you still have any questions about LockApp.exe, please leave them in the comments.