How to Repair Corrupted Windows 11 Bootloader?
Corrupted Windows 11 bootloader is a common issue for many users of this operating system. In fact, this can be said for all Windows users in general. OS bootloader corruption can occur for a variety of reasons, but most often it is caused by an abrupt shutdown of a session, such as a sudden power outage.
Today’s article is about how to repair the Windows 11 bootloader, plus other equally useful information.
Repairing the Windows 11 Bootloader
Recovery Environment – the easiest way to do it
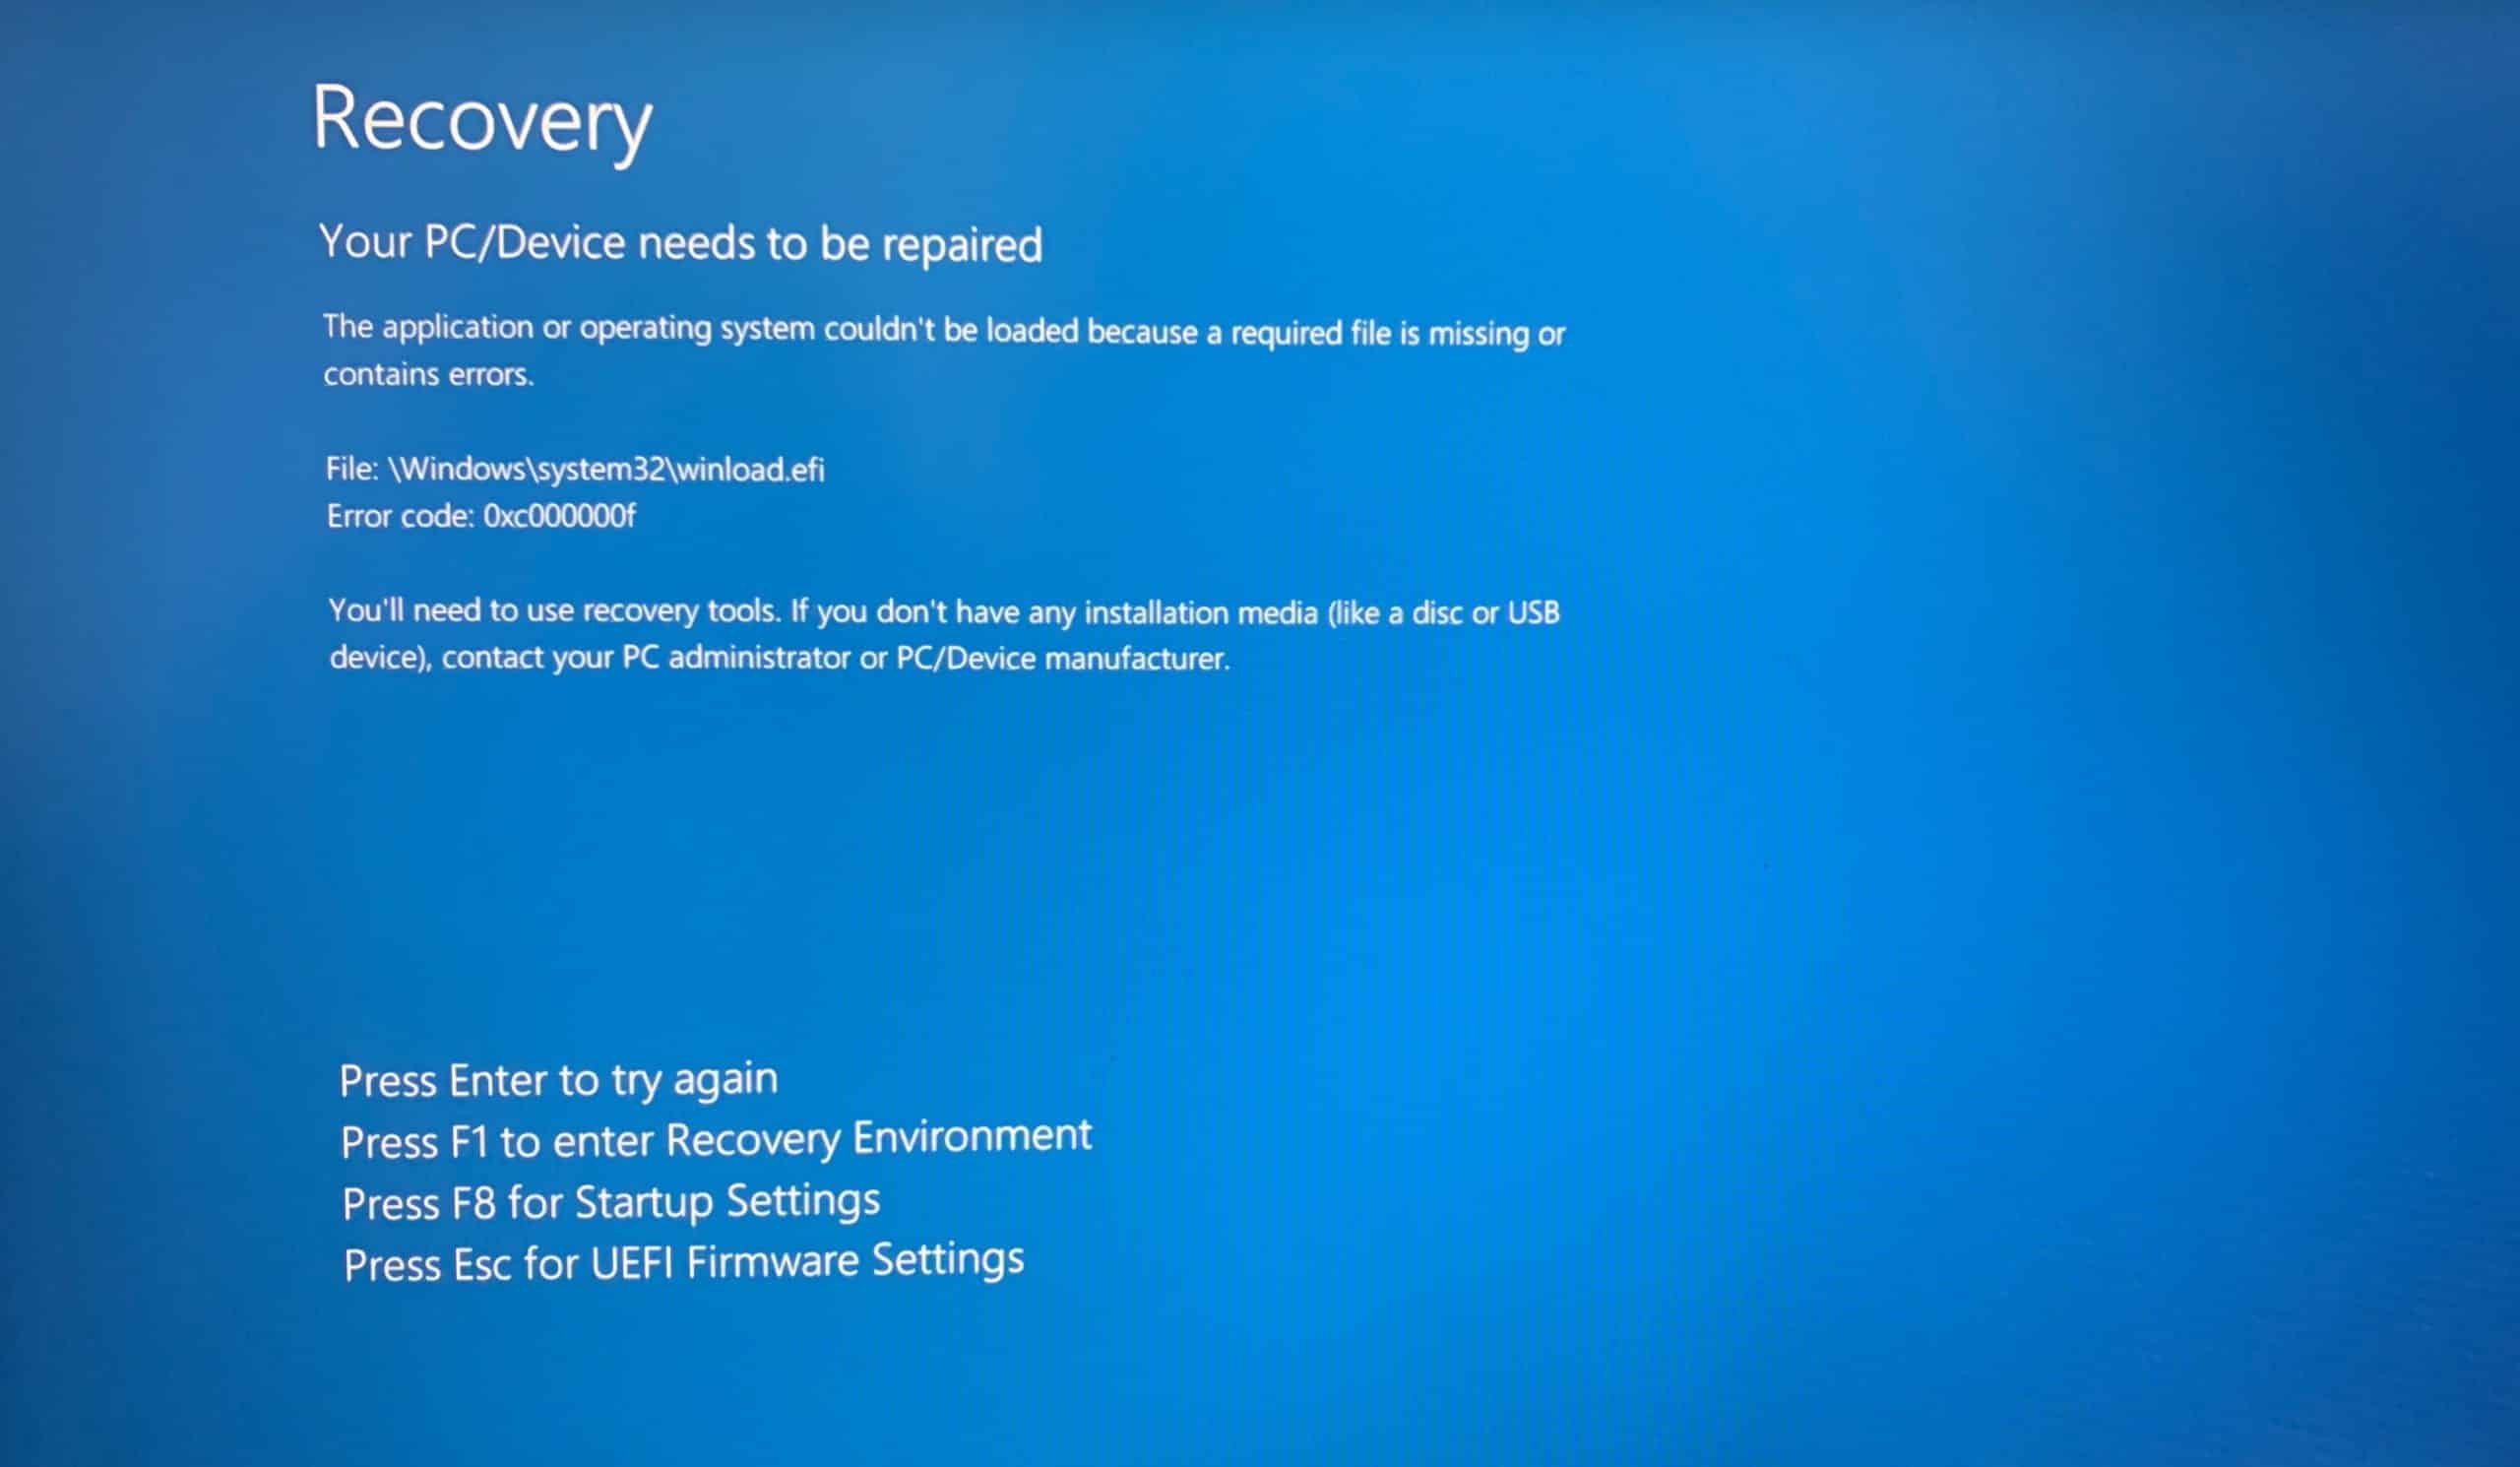
There’s nothing easier than fixing a broken OS bootloader through your Windows installation media, specifically the recovery environment. To get to this environment , you either need to press the appropriate button on the bootloader error screen, or go there manually via the Windows installation media. We recommend the latter option, especially if you already have a pre-made installer.
Get to the “Install Windows” box and click on ” Restore” in the lower left corner. Once you’re in the recovery environment, open the “Troubleshooting” section. In the advanced options, you will find many useful tools that will be helpful in getting your system back up and running.
Click on ” Startup Repair”. Windows 11 bootloader recovery will go through automatically. The only thing you have to do is wait and hope that the system tools get the job done.
Command Line – a powerful tool for almost anything
If the above method did not have the desired effect, we recommend performing a bootloader recovery using the command line. This time you won’t even have to enter the recovery environment. Load through the OS installation media and get to the ” Windows Installation” window. Now press SHIFT+F10 on your keyboard to bring up the Command Prompt in front of you.
Run the following two commands in the console:
- diskpart
- list volume
You will see a list of the volumes on the disk with relevant information about them. Go through the list carefully and look for the bootloader partition (FAT32) and the system partition where Windows resides (NTFS + size you know). Some users do not have these partitions signed with letters, so you will have to do this yourself.
Letting the bootloader partition have a letter:
- select volume [VOLUME NUMBER WITH BOOTLOADER PARTITION]
- assign letter=[ANY ACCESSIBLE LETTER FOR THE VOLUME]
Assign a letter to the system partition:
- select volume [VOLUME NUMBER WITH WHERE’S WINDOWS INSTALLED]
- assign letter=[ANY ACCESSIBLE SECTION LINE]
- exit
Finished assigning letters to partitions? Great, you can start rebuilding the Windows 11 bootloader. At the still open Command Prompt, run:
- bcdboot C:\Windows /s B: /f ALL
Where C is the letter of the system partition (many users set it that way) and B is the partition with the OS bootloader. You will immediately know if the recovery procedure was successful or not: you will see an appropriate message. It is important to note that logging into Windows 11 after repairing the boot loader may lead to various errors. It is solved by rebooting the PC again.
What to do when the boot loader is lost on another drive?
Some users have a system like this: Windows 11 on one drive, its bootloader on a different one. Moreover, this often happens by pure accident during the installation of the OS. Many people do not even realize that their system’s bootloader is on a different drive, and after unplugging the latter they encounter a boot error.
The procedure to fix the boot record in this case would look as follows:
- boot through the Windows 11 installation media and press the SHIFT+F10 combination;
- at the Command prompt, execute commands:
- diskpart
- list volume
- select volume [THE SYSTEM PARTITION]
- shrink desired=100 minimum=100
- create partition primary
- format fs=FAT32
- assign letter=B
- exit
- bcdboot C:\Windows /s B: /f ALL
After the message about successful bootloader repair, close the command line and reboot the PC. Do not hurry to enter the operating system! Go to BIOS and set Windows Boot Manager to the first priority. Save your BIOS changes (required!) and boot into Windows 11. If you’ve done everything correctly, you’ll log in without any problems.
Were you successful in repairing the Windows 11 bootloader? Please share your successes or questions in the comments. We and other site visitors will be happy to help you.