How to Install Windows 10 on Steam Deck
Windows is one of the most popular OS in the world, and it would be even better to use it on a portable device. And most users would prefer Windows to SteamOS. If you’re one of those users, check out this detailed guide. Let’s start with the requirements.
Contents
What You Need
Here’s a list of things you’ll need to successfully install Windows 10 on your Steam deck:
- USB drive with at least 8GB of storage space
- USB Type C dongle
- Windows 10 ISO file
- Keyboard and mouse
Download Windows 10 ISO
First, you will need to download the Windows 10 ISO file. Windows 10 ISO files are available on Microsoft’s website itself. Later, you will need to purchase an activation key to activate a copy on Steam Deck. You can download the Media Creation Tool to get the ISO file. Or, as an alternative, you could use a “custom” version of Windows that doesn’t requiere an activation if you know what we mean. The choice is yours.
Create a Bootable USB Flash Drive
You can easily create a bootable USB flash drive. On the PC where you downloaded the ISO file, download Rufus or UltraISO. Those are free tools that you can use to create bootable USB drives. You can follow the steps in this guide to create a bootable Windows USB drive.
Installing Windows on Steam Deck
When your bootable disk is ready, it’s time to install Windows on your Steam Deck. Be sure to plug your Type C dongle into the Steam Deck and plug in your mouse, keyboard, and bootable USB drive. If you ordered a Steam Deck, this is a good thing, as it comes with multiple ports and eliminates the need for electronic dongles.

- Turn on the Steam Deck and press F2 or whatever specific function key you use to enter the BIOS system menu.
- Connect your bootable USB flash drive to the Steam Deck.
- Now find the boot options and enable booting from USB. Also, make sure that the USB boot option is at the top. This is so that the system will immediately boot into any OS installed on the connected USB drive.
- Once all settings are complete, select save and restart from the BIOS menu.
- Steam Deck should restart and find a bootable USB drive.
- When it finds the drive, it will take a few seconds to load it and then display the setup screen.
- You can set the language and region during setup.
- During setup, you will select various options, such as naming your system, setting privacy settings, controlling Cortana, and prompting you to sign in with a local account or Microsoft account.
- As the installation nears completion, you’ll immediately be ready to use Windows 10 on your Steam Deck.
That way you can install and use Windows 10 on your Steam Deck.
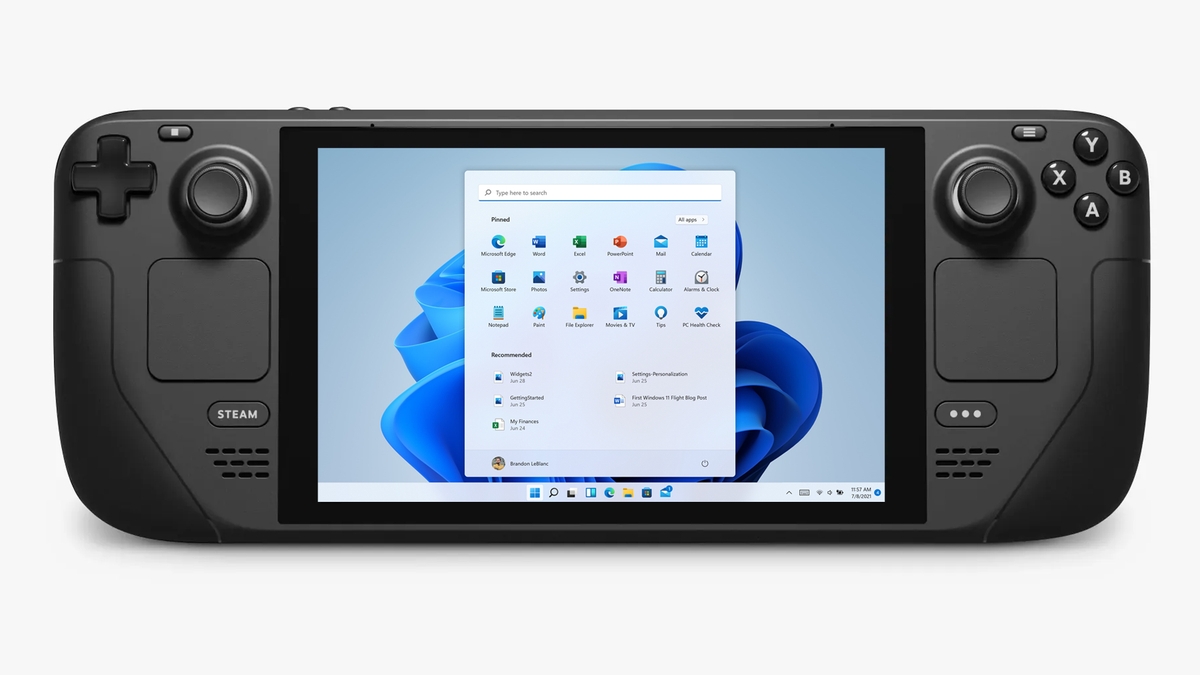
Windows 11 Support and Anti-cheat
Well, Windows 11 has a different set of system requirements, and Valve is currently working on adding TPM 2.0 to its Steam Deck. So sooner or later we’ll be able to see Windows 11 support on Steam Deck right away. Valve is also working with BattleEye to find a way to make the anticheat work and work properly on Steam Deck, and that could be pretty soon. We hope to see all of this before the devices are ready to ship to customers.
Conclusion
So, here’s how you can install Windows 10 on Steam Deck. If you’re planning to install Windows on your Steam Deck, it’s best to get the version with more storage, since Windows will probably take up a ton of space in the 64GB version. Well, you could use an external memory card slot, but why would you want that? Besides, Linux games have been around for quite some time.
So many people prefer to play on Linux. And if you have any doubts or problems, a huge number of members of the Linux community will be happy to help you with any problems you might encounter. As for the availability of other showcases, such as Epic Games, and even support for Linux games, this could happen as more and more people prefer to play on Linux systems and developers are willing to add more things for the Linux platform.