5 Best Ways to Take Screenshots on Windows 11
How do you take a screenshot in Windows 11? Actually, there are a whole bunch of ways – and we’ll take a look at the best ones!
Checks, documents, or just recipes for tasty meals – modern man every now and then has to take all sorts of screenshots on his computer. Did you know that you can take a screenshot in Windows 11 in several ways at once? No, you’ve read it correctly, there are not one, not two, but half a dozen ways to take screenshots, and each of them will come in handy in some situation.
Contents
How do you take a screenshot in Windows 11? Via Print Screen, of course!
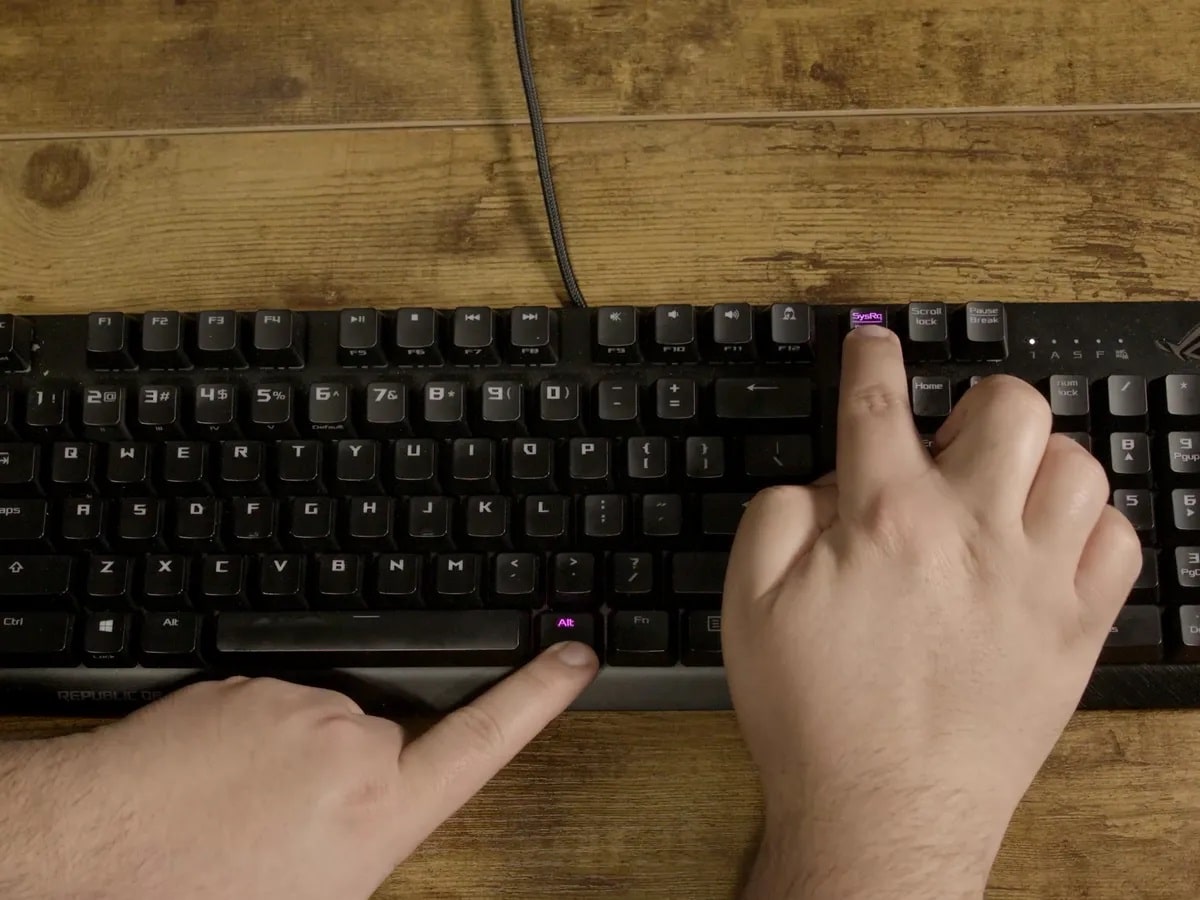
Perhaps almost all PC users are familiar with the Print Screen button. When you click on Print Screen, an image of the screen with whatever elements on it is created and then saved to the so-called clipboard. To get the created screenshot from the clipboard, just open a suitable place, such as the graphic editor Paint, and press CTRL+V. If you add the ALT key to the Print Screen button, the screenshot will be taken of the selected window only, and again, to the clipboard.
Note: The FN button is one of the notebook buttons which must be pressed before you can perform certain combinations. To put it simply, sometimes you need to press FN+Print Screen instead of Print Screen.
WIN+Print Screen – straight to the “Pictures” folder
Not only you can press WIN+Print Screen combination to make a screenshot of the whole screen, but also to save it to the “Pictures” folder on the system disk partition. The format of screenshots in this case will be PNG – a universal image format that all graphic editors can work with. If you add WIN+ALT+Print Screen, only the screenshot of the active window will be placed into the “Images” folder.
WIN+SHIFT+S – screenshot of selected screen area
“Snipping Tool” is pre-installed in many versions of Windows, including, of course, Windows 11. With this application you can create screenshots of an area of the screen in different configurations. Rectangle, random, active window or full capture – a simple but also functional application. To launch “Scissors” you just need to press WIN+SHIFT+S – the corresponding panel with the choice of the screenshot capture form will appear at the top of the screen. The created image will be placed on the clipboard.
Xbox Game Bar – screenshots + video
With the creation of screenshots also cope built by Microsoft Xbox Game Bar utility. As a rule, it is used to record video game process, but it is suitable for creating screenshots. It is also convenient that the utility allows the user to personalize hotkeys for different purposes. By default, the screenshot in Xbox Game Bar is performed on WIN+ALT+Print Screen, but this can be changed at any time in the appropriate settings.
Third-party programs – a working alternative
Well, let’s not forget that you can always ask for help from numerous third-party programs. All of them have different functionality, some of them are paid, others are free. Either way, everything will depend on the preferences and needs of the user. So you do not have to wander in search, we offer you a small list of screener programs:
Any of the above programs will help you make a screenshot in Windows 11 – no doubt!
Do you know any unique ways of “screenshotting” for Windows 11? Or can you recommend an interesting and useful program for this purpose? Please share your findings in the comments below.