How to fix the error “Missing DLL: [MFPlat.DLL] Error: 0x7E” in Star Wars Battlefront II
If you encounter a “Missing DLL: [MFPlat.DLL] Error: 0x7E” error when starting the game, this article is to help you. This error mainly occurs for users who play on Windows 10 versions 1607 and 1703 and is resolved by a simple installation of Media Feature Pack for this version of Windows.
Anything you need:
- Press the Win + R key combination
- In the window that appears, just type winver in the Run line and click OK.
- So you can see the dialog box in which the OS version will be indicated.
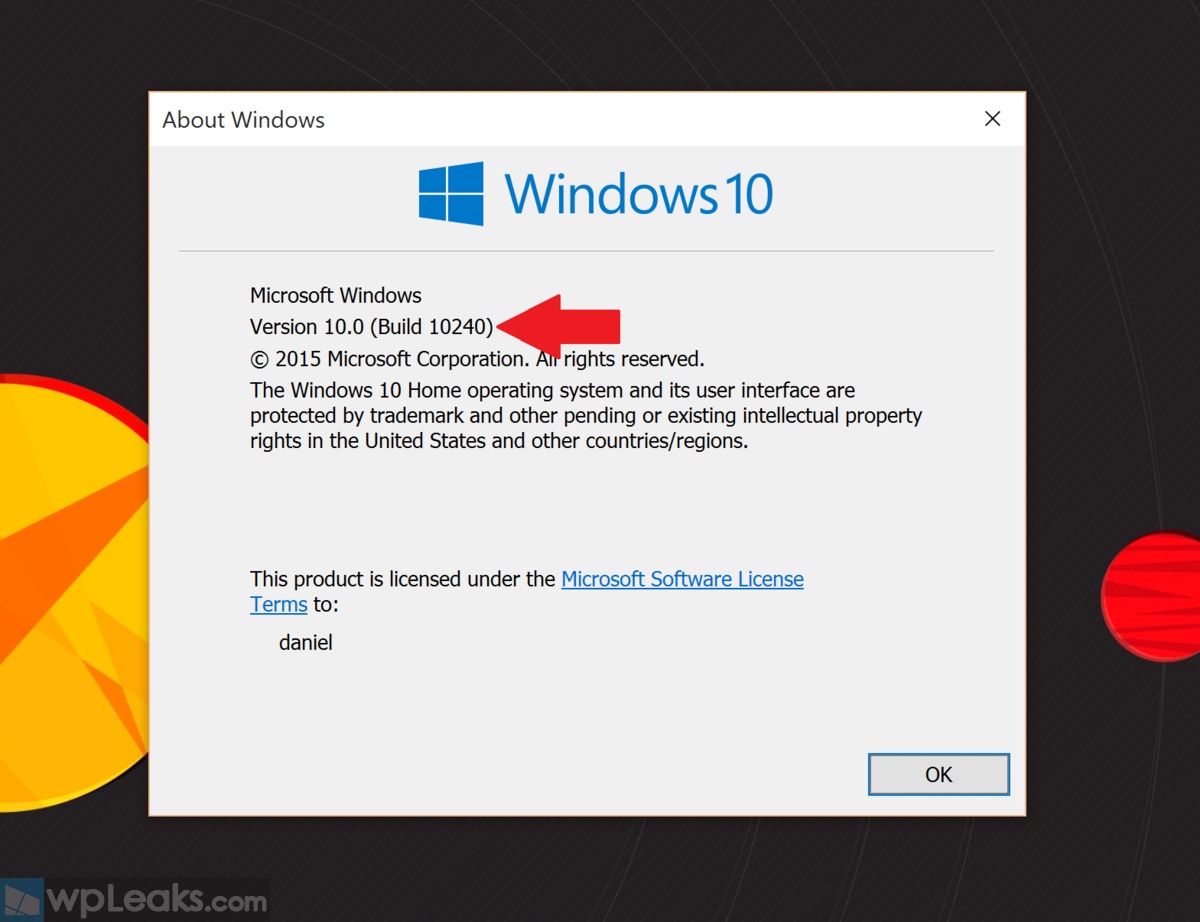
- Follow this link if you have version 1607 (Build 14393)
- Follow this link if you have version 1703 (Build 15063)
- Download Media Feature Pack
- Install it
- Restart your computer
- Go to the control panel and select “Programs and Features”.
- Select “Enable or disable Windows features”.
- In the “Multimedia Features” section, enable (check) Windows Media Player. Click OK.
If this does not help or if you have a different version of Windows, here is the general solution to this problem that Microsoft offers:
- Run Windows Upgrade Advisor to see if there are any known issues that might affect the installation and fix them.
- Disable all security software including anti-virus and firewall programs.
Make sure you enable the anti-virus later - Make sure your computer has the most recent BIOS and drivers.
- Disconnect all external devices except keyboard and mouse before installing.
- If your computer/motherboard has integrated video use that and remove the dedicated video card.
- If you have a large amount of RAM (memory), try reducing the amount of installed RAM. 1GB if installing 32bit, 2GB for 64bit, then replace RAM if the upgrade is successful.
- If you downloaded Windows 7 and burned it to a DVD try burning it again at the slowest speed possible. It’s also possible the download may have errors, you could try downloading it again.
- Check your RAM (memory) for errors. This may take awhile.
- Insert the Windows 7 DVD and restart the computer.
- Boot from the Windows 7 DVD.
- Choose your language, then click Next.
- Click on “Repair your computer” then select the operating system to repair.
- Click the Memory Diagnostics link on the System Recovery menu.
- The computer will restart and your memory checked for any errors.
- Disable Startup Programs:
- Click Start, type MSCONFIG in the Start Search box, and then press Enter.
OK User Account Control permission and enter password if any - On the General tab, click Selective Startup.
- Right below Selective Startup, uncheck the “Load Startup Items” check box.
- Click the Services tab, click the “Hide All Microsoft Services” box, then click Disable All.
- Click OK, then restart the computer.
- Attempt the upgrade again.
- Click Start, type MSCONFIG in the Start Search box, and then press Enter.
That’s all, your problem should be solved, we hope, the article was useful to you.
Subscribe
0 Comments